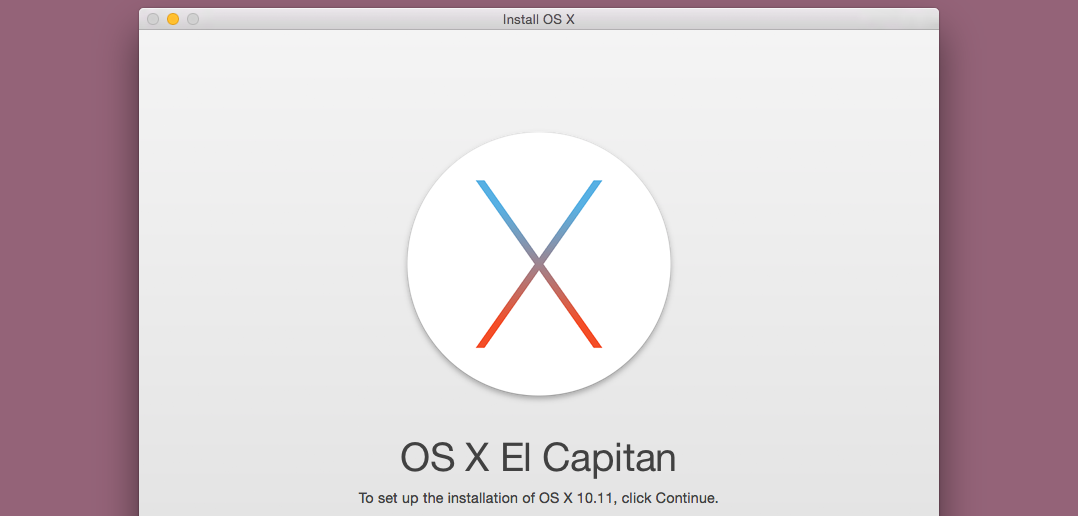
Lost Entropy

Aaron B. Russell's personal blog


Just over a year ago, I created a bunch of SSL certs following the instructions here: http://www.devklog.net/2008/05/25/generating-ssl-certificates-that-will-make-firefox-3-happy/

I’m having some interesting problems creating a new certificate to replace an expired one.

When I created a new certificate (as a leaf of a self-signed CA cert), to replace the expired leaf, I got a message saying that the certificate already existed.

I backed up and then deleted the expired cert and tried again, to no avail.

I saw this old thread which seems related to the problems I’m having, but the solutions there didn’t help me (I’m already manually picking serial numbers in the format yyyymmddnn, where nn is the number of certificates I’ve created that day, and deleting the Certificate Authority folder from Application Support in my home library didn’t make a difference either).

Anyone else had similar trouble? How did you resolve it?

  • 0 Comments
  • Filed under: Posts
  • Compiling FreeImage in 64-bit on Snow Leopard


    I recently tried to use the image_science gem for Ruby, but it didn’t work after installation because it was looking for FreeImage.h. Thinking it’d be an easy fix, I headed over to http://freeimage.sourceforge.net/ to go grab a copy of a binary file to install, but there wasn’t one.

    Undeterred, I went to grab the source and compile it myself. It didn’t work. Eventually I figured there were two key issues:

    1. FreeImage’s source was prepared for Mac OS X 10.3 (Panther)
    2. FreeImage was trying to compile for i386 (32-bit) and my Ruby install is x86-64 (64-bit)

    First problem is easy to fix, just replace both instances of /Developer/SDKs/MacOSX10.3.9.sdk with /Developer/SDKs/MacOSX10.6.sdk (or, 10.5 for Leopard, or 10.4u for Tiger).

    The second part was a bit more fiddly because I wasn’t sure if order was important, so I started by replacing all instances of i386 and I386 with x86_64 and X86_64 respectively. Then, I replaced all instances of ppc and PPC with i386 and I386.

    If you don’t want to worry about making all these changes, you can simply download my Makefile.osx here. It’s built for Snow Leopard, but it’s easy to change it for Leopard or Tiger.

  • 4 Comments
  • Filed under: Posts
  • Fixing CPAN on Snow Leopard (Mac OS X 10.6)


    I ran into some problems with Perl’s CPAN installer on Snow Leopard, notably, it didn’t work once Bundle::CPAN was installed. Every time I tried to install a package I’d end up with an error like this:

    Catching error: 'Can\'t call method "value" on an undefined value at /System/Library/Perl/5.10.0/darwin-thread-multi-2level/IO/Uncompress/RawInflate.pm line 64.
    ' at /System/Library/Perl/5.10.0/CPAN.pm line 281
    CPAN::shell() called at /usr/bin/cpan5.10.0 line 199

    Not good. So, how to fix it? Move the broken IO::Uncompress module out of the way. In a terminal window, copy and paste the following

    sudo mv /System/Library/Perl/5.10.0/darwin-thread-multi-2level/IO/Uncompress/RawInflate.pm /System/Library/Perl/5.10.0/darwin-thread-multi-2level/IO/Uncompress/RawInflate.pm-broken

    Once that’s been shifted out the way, it should work provided CPAN was configured with the proper paths to your tar, bzip2 and gzip executables (if not, nuke your /System/Library/Perl/5.10.0/CPAN/Config.pm and start over).

    Note: This isn’t a long-term solution, some things like CPAN::SQLite won’t install if IO::Uncompress::RawInflate is missing, but at least it gets some functionality back into CPAN. I’m very interested in hearing of any better fixes for this.

  • 2 Comments
  • Filed under: Posts
  • If you’re running a Linux, Mac OS X or Unix server of any description, SSH is an invaluable tool when it comes to taking control of the machine while you’re not infront of it.

    In the world of web hosting, it’s also brings with it SFTP; a fantastic alternative to the very insecure FTP. Except it has one major flaw: by default on Ubuntu (and most Linux distros), one user can see all of another user’s files just by dropping up a directory to /home. Not exactly ideal if you’re providing a shared-hosting service.

    So what we want is a chrooted version of SFTP. But this would also chroot SSH too, making it unusable for system administration. So we need to lock down SFTP only, but let SSH run free. We also want to be able to make some users SFTP-only (web hosting customers), and some users SFTP and SSH capable.

    Luckily someone known as “The Minstrel”, came up with a pretty good solution to this. Back in November 2007, Mads Madsen also created a guide to this process for Debian/Ubuntu 7.04. This has been my favourite solution for some time now. The OpenSSH project has since created a version of this this idea internally, but annoyingly it’s got a major flaw: wherever you want to chroot the users to must be owned by root. In other words, users will not be able to create any files in the top level of their chroot jail.

    Imagine that you have your users data stored in /home/username. You can’t chroot them to /home/username unless you create a directory inside there, and then let them own that. That gives them an ugly chrooted writable path like /htdocs (or whatever you choose to call it), and a / folder they can’t edit. The other option is to chroot them to /home, and let them own their homedir as normal, but then they can see every other user’s files. Again, not ideal.

    So I stuck with The Minstrel’s version, but got tired of having to recompile and rebuild all this every time I wanted it on a new machine. Some people would have probably avoided this (actually quite good) solution altogether because it’s a bit too indepth. Well, it just got a bunch easier, because I created all the bits needed and am publishing them here for you to use.

    Disclaimer: I make no promises that this won’t electrocute your cat, sleep with your girlfriend, make fun of your children, etc. Infact I make no promises about this at all. That said, for me, this has worked very well several times since Ubuntu 8.10’s release, on a whole variety of machines, and I’ve had no problems with it.

    So from your Ubuntu machine, fire up a terminal (or SSH in, if you’re not sat infront of it) and paste this in:

    wget http://unadopted.co.uk/openssh/openssh-server_5.1p1-3ubuntu1_i386.deb
    sudo dpkg -i openssh-server_5.1p1-3ubuntu1_i386.deb
    sudo aptitude hold openssh-server

    This will download the modified package, install it, and tell Ubuntu not to replace it with new any of Ubuntu’s versions. Now bear in mind that you won’t get automatic security updates on OpenSSH anymore — you’ll need a new version of this package when OpenSSH 5.2 comes out, but when that comes out, it’ll be a pretty simple copy/paste job to upgrade, just like that was. The Minstrel notes that it’s worth signing up to the openssh-unix-announce mailing list to find out when this is necessary.

    Now if this is the first time you’re doing this we need to do a couple extra steps (though you won’t need to do this if you’re just updating):

    wget http://unadopted.co.uk/openssh/sftpsh
    sudo cp sftpsh /bin/sftpsh
    sudo chown root:root /bin/sftpsh
    sudo chmod 755 /bin/sftpsh
    sudo echo "/bin/sftpsh" >> /etc/shells 

    This will download and install a special shell which you’ll need to set up as the login shell for the user accounts for whoever you want to lock down. This will kick them straight out if they try and SSH in, but will still let SFTP work. We also need to tell the system which directory to lock them into by adding a special tag into their home folder definition. Which all sounds a bit more complicated than it really is (it’s just one line to copy and paste).

    So, let’s say our web user is called “mywebsite-sftp”. We’d just do this, if we wanted to lock them to their home directory:

    sudo usermod -s /bin/sftpsh -d /home/mywebsite-sftp/./ mywebsite-sftp

    Simple, right? The Minstrel has built up a pretty good set of FAQs incase you run into any problems.

    If you ever change your mind, and want to go back to Ubuntu’s default OpenSSH server and undo all these changes, that’s dead simple too, just copy and paste this in (go-go-gadget uninstaller!):

    sudo rm /bin/sftpsh
    sudo aptitude remove openssh-server
    sudo aptitude install openssh-server 

    Warning: If you’re SSH’d in, don’t disconnect between the two aptitude commands, or you won’t have an SSH server to reconnect to (but it will stay alive until you disconnect). Also, you’ll need to remember that the sftpsh shell doesn’t exist anymore, though, and you’ll need to change any users back to a different shell using usermod.

    Okay, so that’s that over with. Tell your friends, post it on Facebook, link to this in forum posts, Digg it, link to this from the Ubuntu Wiki, do whatever you feel you must do to share this with the world. :)

  • 21 Comments
  • Filed under: Posts
  • ?>